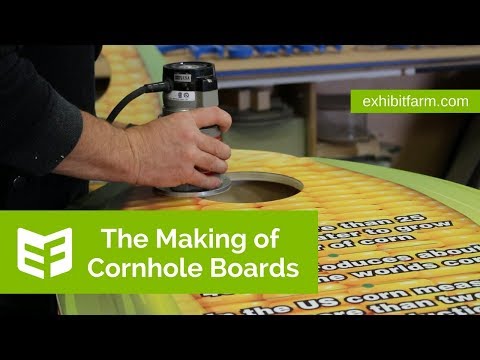
Behind the Scenes: The Making of Corny Cornhole Boards
Compared to some of the other jobs we’ve had over the years, building our Corny Cornhole boards isn’t a hard job. But it’s a job that still requires a team, and it makes its way through several levels of our workshop. Today, we’ll take you behind the scenes to show you how we make this signature product of ours.
(You can view this agricultural display on our custom products page. You can also purchase this product here.)
 All the Prep Work
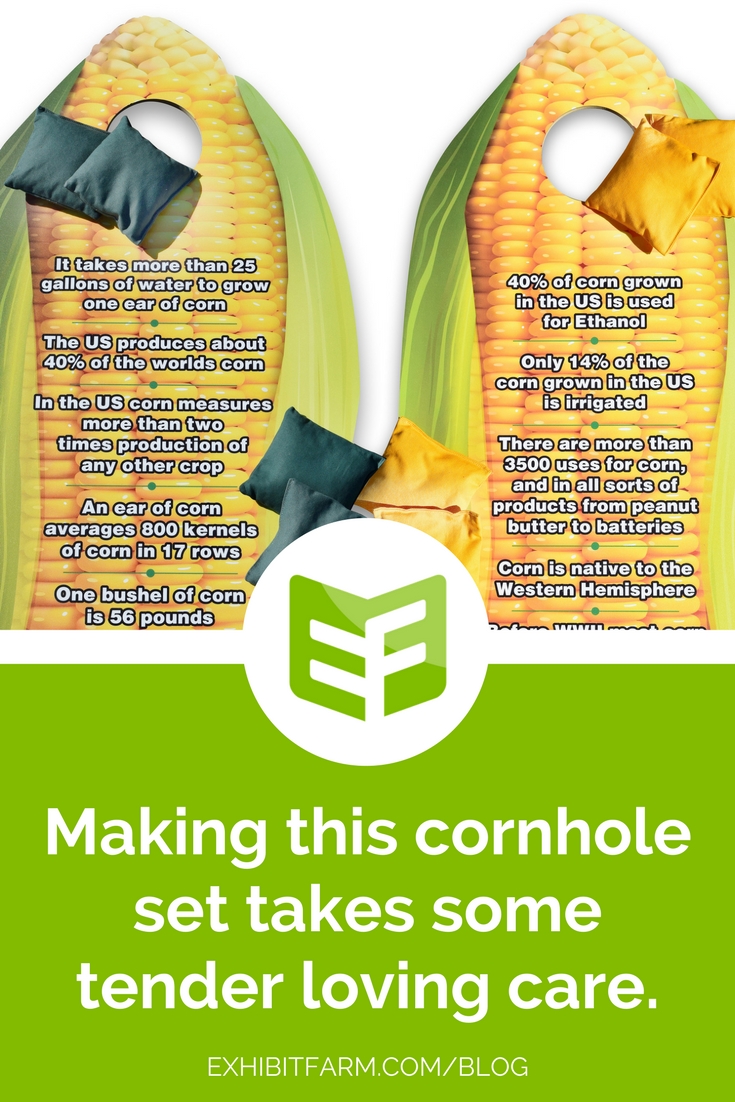
The product started off as a concept. One of our clients, a county farm bureau, shared the idea of having corn-shaped cornhole boards with fast facts about U.S. corn production. Excited about the fun idea, our team started the project with one designer on the computer.
This designer worked with an Adobe Illustrator file to create the perfect corn graphic for the product. The final graphic was an image of a short and wide ear of corn, the perfect width and height for a regulation cornhole board. After the client sent in the content they wanted to include on the boards, our designers arranged the text of the corn facts on the corn graphic. From there, they sent the file to the print room.
In the print room, our finishing technician selected the appropriate material for the job and set it up in the printer. The printer then did its magical work of putting the image from the computer file onto the physical material. Once finished, the graphic sat in wait to be mounted onto the cornhole boards.
Meeting Regulations
Meanwhile, in the back of our workshop, the fabrication team was working on the boards themselves. Making the boards the right size and height required a bit of research into what a regulation cornhole board requires. So, before beginning to build, they reviewed the dimensions laid out by the American Cornhole Association. Using the numbers they found, the craftsmen planned their building accordingly. They even made a few special changes to accommodate the shape of the corn graphic that would be mounted on top. Using their workshop tools and building skills, they cut out and assembled the various parts of the boards, including a stand that could pivot in and out. This would make the boards easier to store and transport.
For the top board, they cut some plywood to match the shape of the corn graphic that the designer had prepared. This board also received the necessary cornhole hole—made to match regulation standards, of course. The black finishing layer they attached to the top surface of the board was what the corn graphic would adhere to.
 Basically One Big Sticker
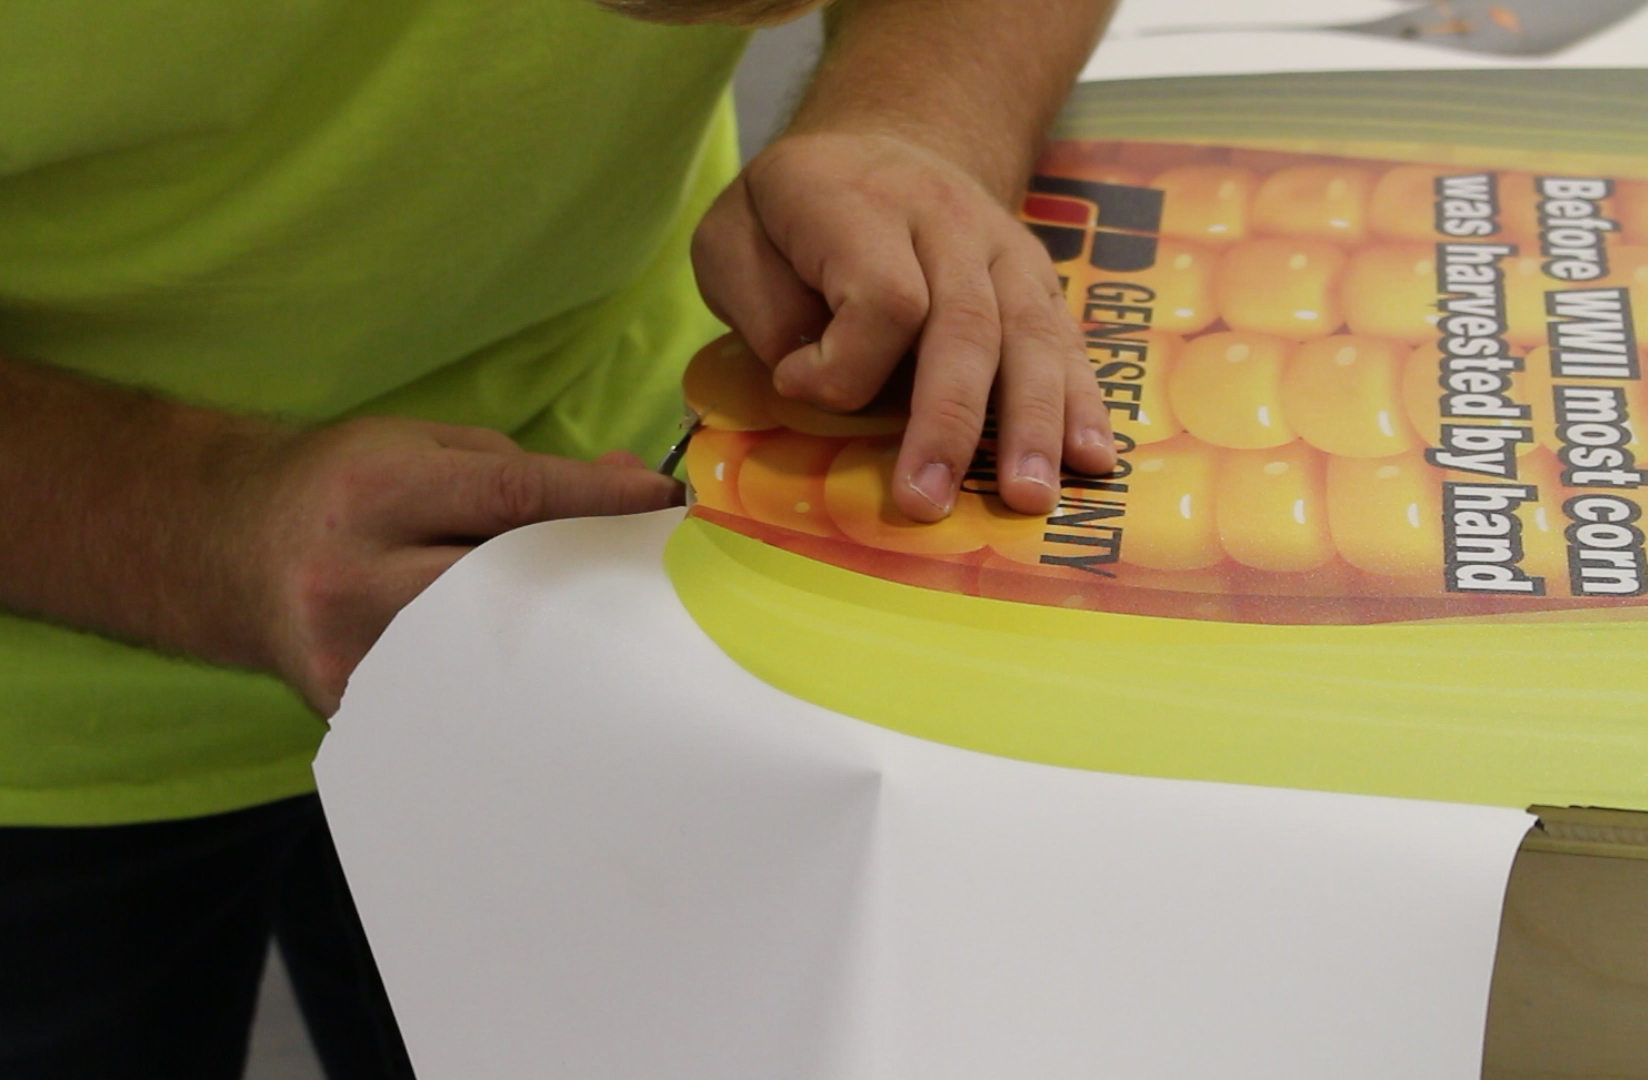
From the fabrication area, the craftsmen brought the boards to finishing. For the next step, the finishing technicians mounted the graphics onto the boards. They did this like they were just putting one big sticker onto each board. After carefully aligning the graphics with the boards, they peeled back the protective layer of the material and then firmly pressed the sticky side onto the black finish of the boards.
After several minutes of carefully attaching the graphics, the technicians attacked the giant sticker with x-acto knives. They first cut out a hole in the top middle of the graphic. This hole aligned with the hole in the board. They then cut away the excess material around the corn graphic, using their precision tools to slice at the material so that the edge of the sticker would be flush against the edge of the board. They didn’t want any extraneous flaps causing tears or catching on things.
The last step was to sand and file the edges of the boards. They did this to ensure a smooth, unnoticeable connection between the plywood and the sticker. It would also eliminate splinters.
The final product of all this work is a pair of crisp, clean, and bright cornhole boards. This is what we do and what we get every time we make a Corny Cornhole set. All it takes is some tender loving care and some talented team members to get the job done.